Barcode placement on folding cartons should begin with a flat, accessible panel on the assembled box, away from creases, seams, cutouts, and closures. Reserve space for the complete symbol and its required blank margins, use suitable contrasting ink and background, and check the finished package rather than approving a screen image alone. The right dimensions depend on the barcode type, scanning environment, and applicable GS1 and retailer requirements; there is no single safe size for every carton.
This checklist is for brands preparing retail carton artwork and approving a print run. It separates structural decisions from barcode data checks so the designer, printer, and brand owner know what each must confirm.
Start with the scanning environment, not an empty corner
Before placing a code, identify what will be scanned, where, and by whom. A consumer unit scanned at retail checkout is not automatically the same identification task as a shipping case scanned in a warehouse. Do not copy a case label onto an individual product box simply because the graphic fits.
Confirm the required symbol with your trading partner or GS1 organization. Record the product identifier, intended market, pack configuration, and any retailer-specific placement instructions. If the design also includes a consumer QR code, keep its purpose clear: linking to a website does not make it a substitute for the product-identification symbol required by the retailer.
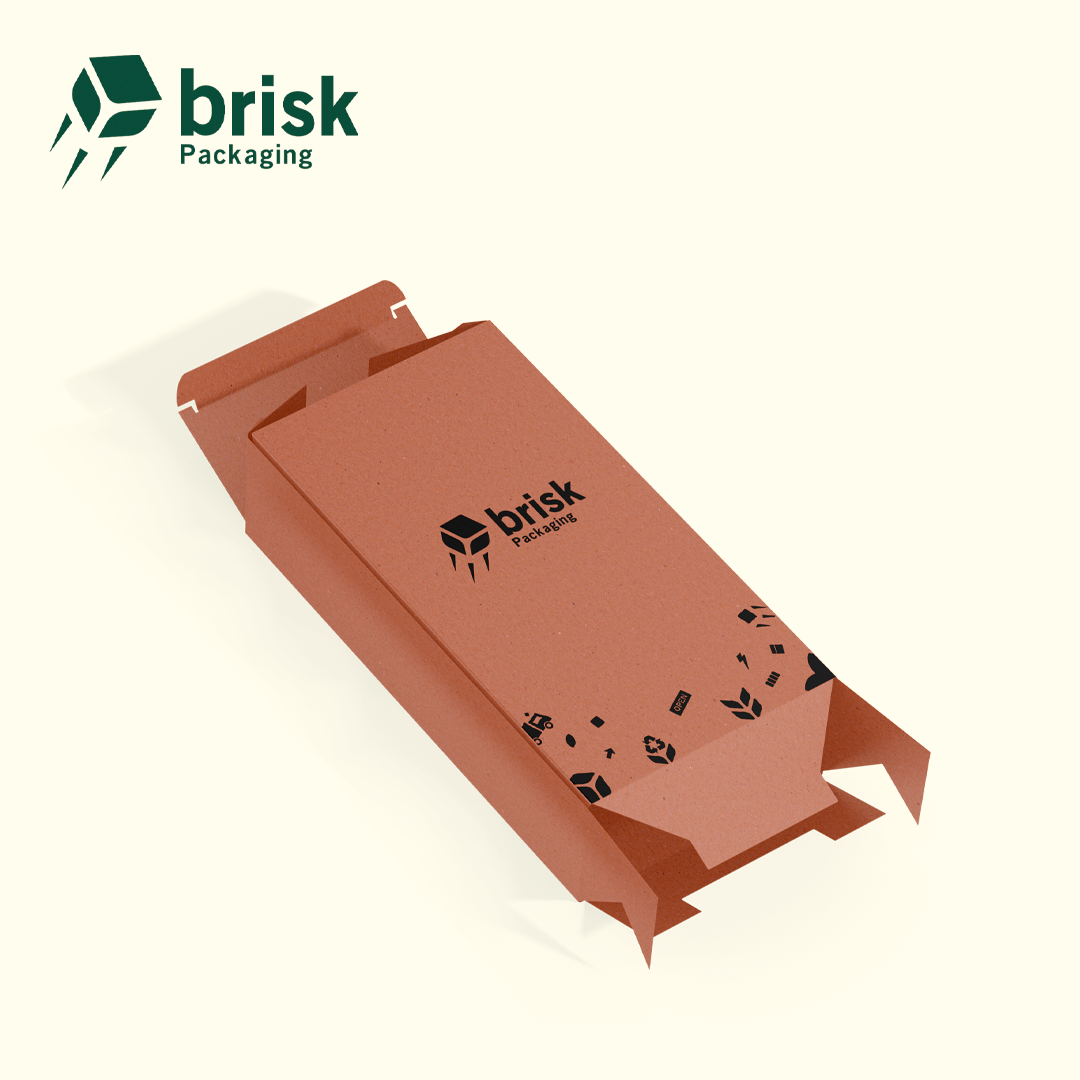
Then give the packaging supplier the current structural drawing. On custom folding carton boxes, a large rectangle on the flat dieline may become a hidden glue area, a tucked flap, or a surface split across overlapping bottom panels. Choose the location using the assembled structure, not the apparent room on the artwork canvas.
Choose a panel that stays visible after packing
A useful barcode panel remains reasonably flat, reachable, and unobstructed after the product is inserted and the box is closed. Back and side panels are often candidates, but neither is universally correct. Follow the placement requirements for the specific package and retail application.
Review these structural risks before committing to the layout:
- A crease running through the bars or the blank margin beside them.
- A glue seam that changes the surface or hides part of the symbol.
- A tuck flap, security seal, or retail label that covers the code after packing.
- A window or cutout that interrupts the printed background.
- A bottom closure made from overlapping panels rather than one continuous surface.
- A tight product fit that makes the chosen panel bow outward.
Ask the packer how the carton will actually be sealed. A designer cannot protect a barcode from tape, a price sticker, or a tamper label that was never included in the brief. Mark those locations on the structural proof and maintain them as controlled areas in later revisions.

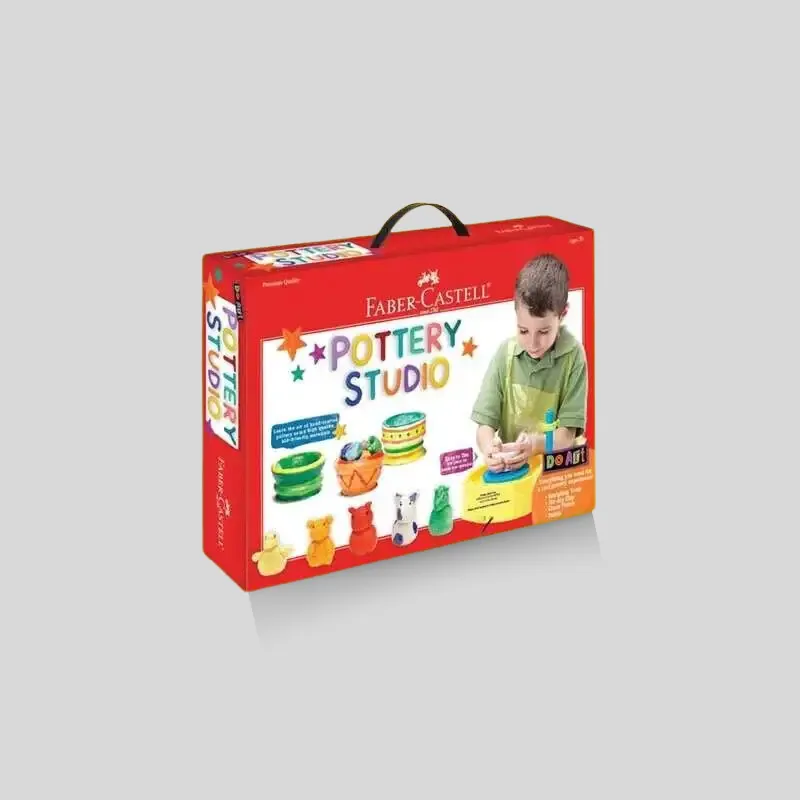
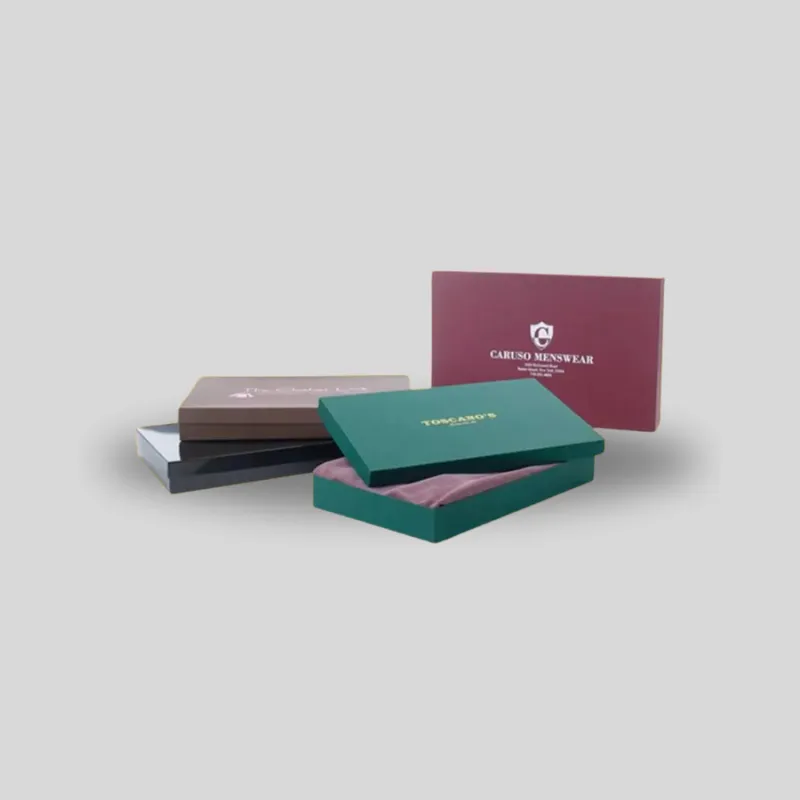
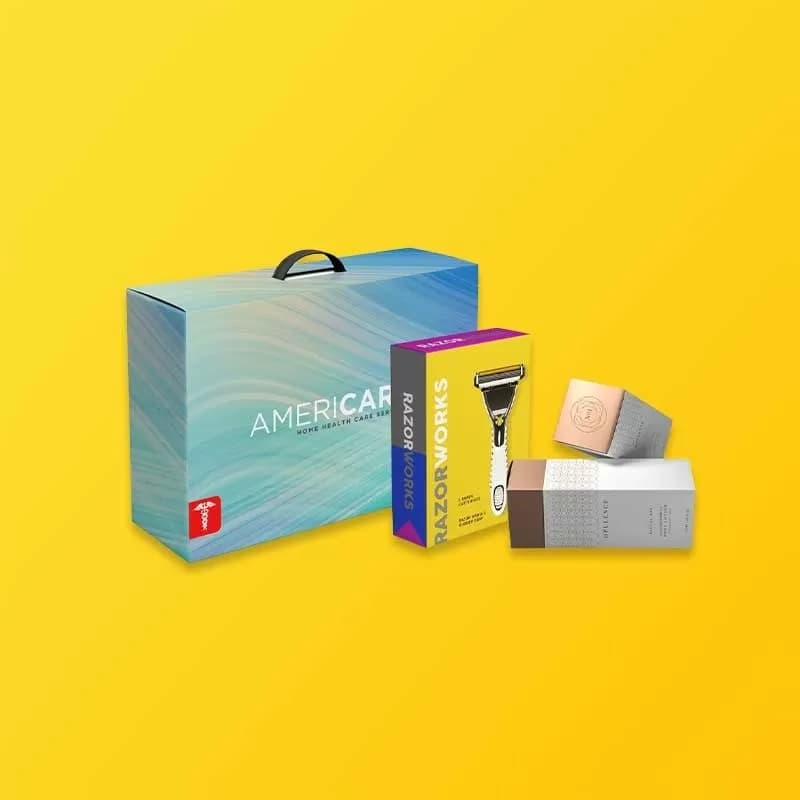
These Brisk product images illustrate carton structures. They are not barcode test reports or evidence that a particular symbol has passed verification.
Protect the complete symbol and its quiet zones
A barcode needs more space than its visible bars. The clear areas around a symbol, commonly called quiet zones, help scanning equipment distinguish the code from nearby graphics. Required dimensions depend on the symbol and application, so obtain the specification before fitting the design around it.
Reserve the barcode artwork as a complete unit. Do not crop its white background to make the surrounding design look tighter, place decorative rules in the reserved area, or let a background pattern continue through the spaces. Human-readable digits also need to remain legible, but their presence does not compensate for damaged bars or inadequate quiet zones.
Avoid stretching the symbol horizontally or vertically to fill a gap. Likewise, do not reduce bar height merely to clear nearby copy without checking the applicable requirements. A code that a phone happens to read once is not proof that a distorted or truncated symbol is acceptable for retail distribution.
Use suitable high-resolution barcode artwork from a reliable source. The GS1 US barcode placement and printing guidance explains why clean lines, appropriate color combinations, and clear placement matter. Ask the printer to confirm the final reproduction settings rather than modifying bar widths yourself.
Treat stock, ink, and finishes as one print condition
Black bars on a white background are the straightforward starting point described by GS1 US. Other combinations require care. A barcode that looks distinct to a person may not offer suitable contrast to scanning equipment. Avoid selecting colors solely from a brand palette.
GS1 US recommends printing the bars in a single ink color rather than building them from multiple process colors. Multiple plates can introduce registration differences that affect edges. The background should provide the light, sufficiently opaque spaces and quiet zones the symbol needs; unprinted brown board should not automatically be treated as equivalent to a white panel.
If the carton uses kraft, metallic effects, or unusual coatings, discuss a dedicated barcode area with prepress. Specify how the background will be produced and how it will be checked on the actual stock. Do not assume a white-looking area in a digital mockup represents a tested opaque white ink layer.
Foil, embossing, heavy texture, and reflective finishes can introduce additional risks around the symbol. A restrained design approach is to keep decorative effects away from the barcode area and confirm the planned varnish or lamination with the printer. That is a risk-reduction choice, not a promise that every coated barcode fails or every uncoated barcode passes.
Compare locations before artwork approval
Use this table during the structural review. It is a decision aid, not a replacement for GS1 or retailer specifications.
| Candidate area | What to check | Reason to choose another area |
|---|---|---|
| Continuous back panel | Flatness, available clear space, retailer access | Legal copy or a seal leaves insufficient room |
| Side panel | Full symbol dimensions and packing orientation | Narrow width encourages distortion or cropping |
| Bottom panel | Closure construction and accessibility | Flaps overlap the symbol or interrupt its background |
| Near a window | Distance from the cutout and stable opaque background | The window enters the symbol or quiet zone |
| Near a tuck closure | Final flap position and sealing method | Tape or the closed flap can cover the code |
| Decorative premium panel | Ink contrast and finish interaction | Foil or texture compromises the reserved print area |
If no panel works, revisit the layout or structure before reducing the barcode. The tradeoff may be less decorative copy, a different panel arrangement, or a revised box footprint. Review the wider custom packaging range with the supplier if the current structure cannot accommodate the required information and product fit.
Check the assembled package, not just the PDF
Digital approval establishes that the right artwork and data were supplied. It cannot establish the print quality of a production carton. Plan a physical assessment that reflects the intended board, printing, finishing, cutting, folding, and packing conditions.
First, assemble and fill representative cartons. Check whether the panel bends, whether the closure covers anything, and whether packing staff put labels in the reserved area. Test the opening and handling sequence as well as the unopened shelf position. A symbol that sits flat on an empty carton may behave differently when the product presses against it.
Second, separate an ordinary scan from formal verification. A successful scan shows that a particular device read a particular sample under those conditions. Formal barcode verification assesses specified quality characteristics with appropriate equipment and reporting. Where a retailer requires a verification report, an informal phone scan is not an equivalent substitute.
Third, agree who will arrange verification, which specification applies, how samples will be selected, and what happens if the result is unacceptable. Set acceptance criteria with the responsible specialist or trading partner before the run, rather than inventing a grade after printing. Do not claim a code is certified or retailer-approved without the relevant evidence.

Assign release responsibilities and retain evidence
Small teams often assume another person has checked the barcode. Replace that assumption with a short release record. The brand owner should confirm that the encoded identifier belongs to the intended product and pack variant. The designer should preserve the approved symbol and reserved area. The printer should review reproduction suitability and the agreed production checks.
| Release item | Suggested responsible party | Evidence to retain |
|---|---|---|
| Product and identifier match | Brand owner | Approved SKU-to-identifier list |
| Panel and closure clearance | Designer and structural supplier | Marked assembled-carton review |
| Symbol artwork and dimensions | Designer with barcode specialist | Approved final-size artwork |
| Stock, inks, and finish | Printer and brand approver | Written print specification |
| Physical barcode quality | Agreed verifier or quality provider | Required verification report |
| Version approved for production | Brand owner and supplier | Dated artwork revision and sign-off |
Recheck the release when a meaningful print or structural condition changes. A new coating, different board, smaller panel, moved label, or changed barcode asset can invalidate assumptions from the previous job. A repeat order is not necessarily the same print condition.
For the broader handoff process, use Brisk's guide to preparing artwork files for custom packaging. Keep the barcode release record alongside that artwork package rather than burying the decision in an email attachment with an unclear version name.
Include barcode requirements in the quote brief
Send the supplier the product dimensions, preferred carton structure, intended sales channel, quantity, board preference, artwork status, and required finishing. Add the barcode type, final asset, relevant retailer instructions, intended panel, and any verification requirements. Mention security labels, variable data, or other elements that will be applied after printing.
Ask which checks are included in the quotation and which require a separate service or physical proof. Multiple SKUs, unusual backgrounds, finish exclusions, and additional verification arrangements can change preparation work. Obtain project-specific costs, order quantities, and timing rather than assuming a barcode review is included in every packaging price.
Need help allocating panels before completing the artwork? Request Brisk's free custom 3D digital box design and vector dielines, or contact a packaging specialist with your carton brief. The free design offer is digital, not a mailed physical sample kit. Physical pre-production proofs on the selected stock are arranged upon order approval for bulk production; confirm the scope with your quote. A digital rendering helps visualize the layout but does not replace physical barcode verification.
FAQ: Frequently Asked Questions
Can a barcode go on the bottom of a folding carton?
It may be suitable when the applicable placement rules allow it and the assembled bottom offers a continuous, accessible area. Check overlapping flaps, seams, tape, and quiet-zone clearance before approving that location. Do not assume every folding-carton bottom behaves like one flat panel.
How much blank space should surround a barcode?
Use the quiet-zone requirements for the specific symbol and application. There is no universal measurement that covers every retail and logistics barcode. Have the designer reserve the complete approved symbol area and ask the relevant GS1 organization or barcode specialist to confirm the requirements.
Can I print a barcode directly on kraft board?
Do not assume it will be suitable without reviewing contrast and print quality on that stock. Discuss the background, ink, and any opaque white area with the printer, then assess representative finished samples against the applicable requirements. A digital kraft texture is not a substitute for a physical print check.
Does a successful phone scan mean the carton is approved?
No. It demonstrates a read by that device under those conditions, not conformity to a retailer's barcode quality requirements. If formal verification is required, arrange the appropriate equipment, assessment, and report with a qualified provider or responsible trading partner.
Can a website QR code replace the retail barcode?
Not automatically. A consumer marketing QR code and a retail product-identification code can serve different purposes. Confirm the required symbol, data, and retailer capabilities before removing an existing retail barcode or changing the package's identification system.