Folding carton crease cracking is a split or broken-looking line that appears when printed paperboard bends. To troubleshoot it, identify whether the damage affects the ink, coating, fibers or board layers, then ask the converter to check the board specification, grain direction, crease tooling and finishing sequence together. A thicker board or extra coating is not an automatic fix. Keep failed samples and approve a corrected physical carton made with the intended materials, not just a flat artwork proof.
This guide is for buyers reviewing a carton sample or investigating an unexpected production defect. For selecting the actual packaging, start with Brisk's custom folding carton boxes; use the checks below to make your quality discussion specific.
Identify the defect before requesting a replacement
A pale line on a dark fold is a symptom, not a complete diagnosis. Ask whether it appears as soon as the carton is erected, after repeated opening, or after transport. Compare an untouched blank with an assembled carton from the same batch. Inspect both the printed face and the inside of the fold under consistent lighting.
Do not scrape or repeatedly flex every failed sample before sending it back. Keep at least one example in its original condition so the supplier can distinguish the initial failure from damage caused during investigation.
| What you observe | What it may indicate | What to ask the converter to check |
|---|---|---|
| Thin white line through a printed color | Surface ink or coating fracture | Print coverage, coating flexibility and crease setup |
| Rough split with exposed fibers | Board surface failure during bending | Grade, conditioning, grain and crease geometry |
| Layers lifting beside the fold | Excessive or uncontrolled layer separation | Board construction and tooling interaction |
| Whitening across a broad rubbed area | Abrasion rather than a crease-only problem | Handling, surface protection and carton contact |
| Flap springs back but surface looks intact | Folding resistance or erection issue | Crease formation, pre-breaking and packing-line settings |
These are investigation prompts rather than remote diagnoses. A photograph may show the location clearly but cannot establish the mechanical cause on its own.
Why board, grain and crease tooling must work together
A crease is an engineered hinge, not simply a shallow cut. Holmen's paperboard die-cutting and creasing guidance explains how controlled separation within the board helps form a fold while preserving the outer layers. It also describes the influence of board properties and tooling geometry. That is why the correction should involve the converter, not only the artwork designer.
Confirm the actual board specification
Record the manufacturer or agreed equivalent, grade, caliper and coating information. Grammage alone does not describe the full construction. Two boards of similar weight can behave differently when creased and folded. A board substitution should therefore trigger a review of the folding setup rather than being treated as an invisible purchasing change.
Heavier or stiffer stock may meet one protection objective while making the existing crease harder to fold. Ask whether the tooling was selected for the actual delivered board. Avoid demanding a heavier sheet as the only acceptable remedy before the cause has been established.
Ask where the grain runs on the blank
Paperboard has a manufacturing direction, and its mechanical response can differ across directions. Ask the supplier to mark grain direction on the approved dieline or production specification and identify the critical folds. Cartons contain folds in more than one direction, so a universal instruction to align every fold with the grain is not realistic.
The useful question is which orientation gives acceptable performance for this structure, artwork and packing method. Ask for a comparison if a layout change is proposed. Sheet utilization and cost matter, but they should not replace a documented fold-quality requirement.
Leave machine settings to the converter
Creasing rule dimensions, channel geometry, pressure and make-ready are production variables. Buyers should request evidence that the setup suits the stock, not copy a generic setting from another box. Ask whether the defect occurs consistently across a sheet or only in certain positions. That information helps separate a specification issue from a local tooling or setup issue.

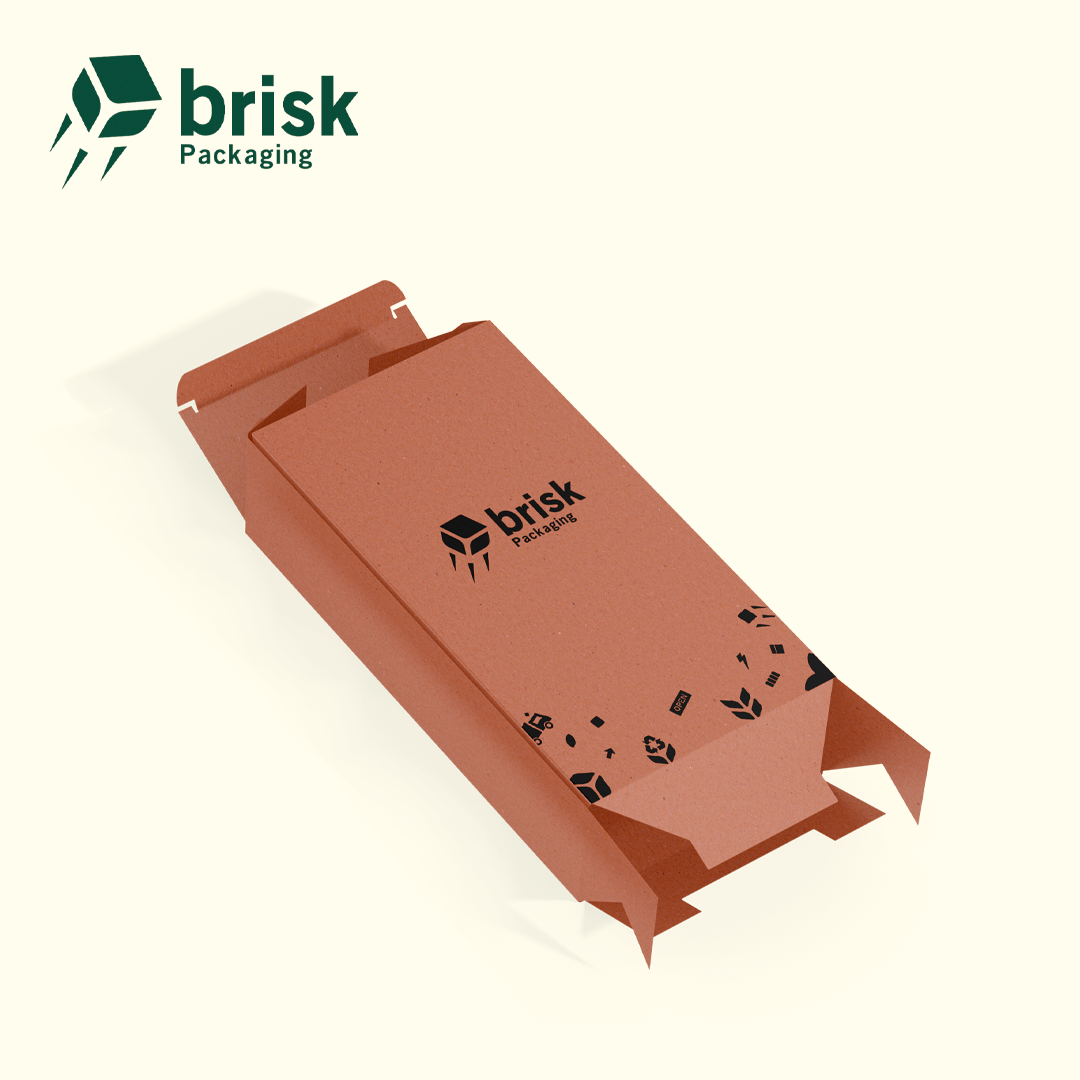
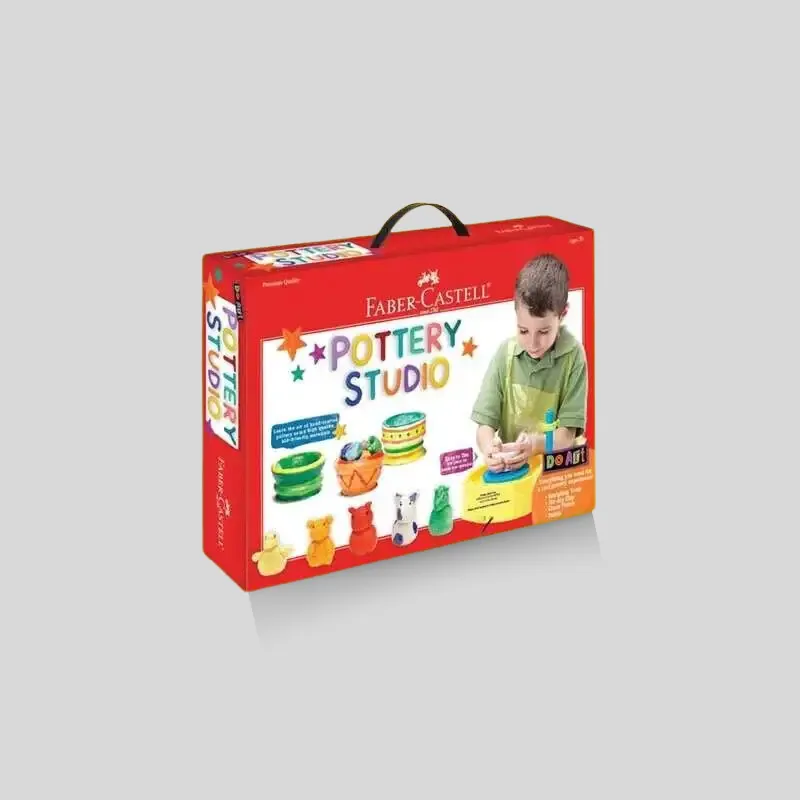
The catalog views in this article illustrate Brisk packaging products; they are not photographs of crease defects or evidence of a particular test result.
Check printing and finishing without hiding the problem
Dark solid artwork often makes a small pale break more noticeable than a light design. Inspect the approved design at its highest-contrast folds, not just on an unprinted white sample. A structural blank can confirm fit and closure, but it cannot establish how the final ink and finish will look after folding.
Compare the intended varnish, lamination or decorative treatment with the tested sample. If the test omits a finish crossing the fold, record that limitation. Discuss whether decorative elements can move away from a demanding crease without changing the brand layout. Any change still needs review on the actual dieline.
Do not assume lamination will cure the defect. It changes the material combination and can introduce its own appearance or adhesion concerns. Likewise, reducing ink coverage may make a defect less visible without solving a weak fold. The objective is an acceptable finished carton, not simply a more forgiving photograph.
Before submitting revised files, use the packaging artwork preparation guide to keep print layers and structural references clear. The artwork file should match the exact dieline revision being tested.
A practical supplier test workflow
1. Assemble a small evidence packet
Send the order reference, board specification, artwork revision and finishing details. Include a full-carton image showing the affected panel, a close-up of the fold and a photograph of the corresponding unfolded blank if available. Explain when the damage first appeared and whether assembly was manual or machine-operated.
Record storage and handling conditions as observations. Do not assume that humidity caused the failure simply because cartons arrived during wet weather. Give the supplier enough information to investigate conditioning alongside the other variables.
2. Agree on the question each trial answers
Ask the converter to label each proposed change. A trial might compare crease setups on the same stock or compare a proposed replacement board with the original. Where practical, change one variable at a time. If several changes must be made together, document them so the result is not incorrectly attributed to only one cause.
A useful trial record includes sample identifier, board, grain orientation, print and finish combination, tooling revision and assembly method. This is more actionable than receiving an unlabeled box described only as the improved version.
3. Test the carton as it will be used
Erect the carton using the intended packing method and insert the actual product or an agreed representative load. Check the critical folds, closure and fit. If a tuck flap is opened during ordinary use, evaluate that use explicitly; do not impose repeated flexing on a one-time assembly crease without explaining the requirement.
A closure that is forced because of an oversized insert can complicate the assessment. Confirm dimensions and product fit before attributing every split to paper quality. Keep the fold-quality check separate from any transit-protection testing required for the shipment.
4. Approve a recorded reference, not a verbal promise
Once a correction is acceptable, retain a labeled physical sample and record the exact specification it represents. Confirm what happens if the board, finish or tooling changes before the bulk run. An approval tied only to the artwork filename leaves the material and converting decisions ambiguous.

Build an acceptance checklist before bulk production
A good checklist describes what will be inspected, how it will be viewed and who can approve an exception. It does not need to invent a universal tolerance that every carton supplier must follow.
| Approval item | What to record |
|---|---|
| Carton identity | SKU, dimensions and dieline revision |
| Material identity | Agreed board grade, caliper and permitted substitutions |
| Print and finish | Artwork revision and exact finish combination |
| Inspection locations | Named folds, tuck flaps and high-contrast printed areas |
| Assembly conditions | Manual or machine erection and representative product fit |
| Appearance reference | Labeled approved sample and agreed viewing conditions |
| Change control | Who approves material or process changes before production |
Ask your supplier to propose an inspection and sampling plan appropriate to the order. Avoid choosing arbitrary pass percentages without understanding the batch, defect categories and commercial agreement. If a disagreement occurs, a retained reference and clear inspection conditions provide a better starting point than two photographs taken under different lighting.
What to include in a quote or corrective-action request
For a new project, send internal box dimensions, product weight, quantity, packing method, artwork, finish preferences, delivery destination and target date. Add your critical fold and appearance requirements. If inserts are involved, provide their dimensions and material too.
For an existing defect, add the failed samples and original approved specification. Ask which proposed changes affect price, tooling, minimum order quantity or production scheduling. A revised board layout can affect sheet yield; another finish can add a production step. These are project-specific quotation factors, not reasons to assume a standard surcharge or fixed turnaround.
Brisk offers Free Custom 3D Digital Box Design & Vector Dielines. Use that service to review structure and artwork placement before committing to production. A digital design cannot demonstrate physical crease strength. Physical pre-production proofs on the chosen stock are produced upon order approval; they are not free generic sample kits mailed out on request. For a defect review or a project-specific quotation, contact the packaging team with your evidence packet.
FAQ: Frequently Asked Questions
Does a white line mean the carton is structurally unsafe?
Not necessarily. It may be a surface fracture, fiber damage or abrasion. Inspect the affected layers and evaluate the carton under its intended use. A photo alone cannot confirm load performance or establish whether a cosmetic issue also affects function.
Will thicker paperboard stop crease cracking?
Not automatically. Changing caliper or stiffness changes how the board interacts with the crease tooling. The converter should check the complete material and setup combination and produce a representative folded sample before the change is approved.
Should every fold follow the paperboard grain?
A carton normally has folds in different directions, so that instruction cannot apply to every crease. Ask the converter to identify the grain orientation and evaluate the most demanding folds for the chosen structure, print treatment and assembly method.
Can a digital 3D proof confirm fold quality?
No. A digital proof helps review layout, structure and artwork placement, but it cannot establish the physical behavior of board, ink, coating or adhesive. Use an appropriate physical pre-production proof to review the actual material combination.
What should I send Brisk when a carton fold cracks?
Send the order or project reference, dieline revision, board and finish details, photographs of the whole carton and affected fold, and a description of when the defect appeared. Retain failed physical samples and an approved reference if available so the team can investigate the difference.