Choose custom candy boxes from the candy itself: format, dimensions, piece count, wrappers, assortment, storage conditions, and sales channel. Decide which layer touches the food, then size the carton and any insert around a real packed layout. Reserve enough verified space for required product information, select materials and finishes for the actual route, and test a physical sample from filling through customer opening before ordering production.
Brisk's Custom Candy Packaging Wholesale page is the commercial destination for branded candy packaging. This guide helps confectioners, candy brands, gift businesses, and packaging buyers prepare a clearer dieline, sample, and quote request without treating every sweet as the same packaging problem.
1. Start with the candy format and sales channel
“Candy” can mean individually wrapped hard sweets, loose gummies, sugar-dusted chews, caramels, lollipops, mints, brittle, coated nuts, or a mixed gift assortment. Those products do not create identical packaging demands. A carton for wrapped mints primarily organizes and presents units. A box for unwrapped gummies may depend on a separate approved inner bag, cup, tray, liner, or cavity system. An assortment must keep flavors and shapes in their intended positions.
Create a product profile before selecting a box style. Record:
The maximum length, width, height, and weight of each candy or wrapped unit;
Piece count and acceptable count variation per pack;
Whether pieces are loose, individually wrapped, flow-wrapped, bagged, pouched, cupped, or placed in cavities;
Sugar, powder, oil, stickiness, brittleness, odor, color transfer, and moisture sensitivity;
Allergen and flavor-separation procedures defined by the food business;
Expected storage temperature, shelf period, retail environment, and shipping route;
Whether the package sells from a shelf, counter, display hook, gift set, subscription shipment, or e-commerce parcel;
Required opening evidence, reclosure, dispensing, gifting, or portioning behavior;
Artwork versions, seasonal assortments, and market-specific label needs.
Use production-representative samples, including the largest wrapped piece and the most delicate item. Nominal candy dimensions can hide wrapper seals, twisted ends, sticks, irregular shapes, or seasonal decoration. A packaging concept should fit the sellable unit, not an idealized drawing.
The sales channel changes priorities. A retail carton needs stable shelf facings, readable identification, and efficient case packing. A gift box may emphasize sequence and presentation. A subscription pack must survive repeated parcel handling and may need a corrugated outer structure. A counter dispenser has to feed products without jamming. Define the primary job before adding decorative features.
2. Map the complete packaging system
A printed carton is not always the primary food-contact package. Your system may include an individual wrapper or sealed pouch, a tray or divider, the branded outer carton, a tamper feature, and a shipping case. Assign a job to every layer.
For example, a sealed inner bag may provide the needed product containment while a folding carton supplies branding, stacking, and label area. An assortment tray may organize pieces while a lid protects the arrangement. Corrugated board may serve as the transit layer around a separate retail pack. This mapping prevents the outer box from being asked to perform a barrier or contact function it was not designed to provide.
If candy can touch a board, coating, ink, adhesive, liner, tray, window, or divider, ask the supplier to identify that component and document its suitability for the intended conditions. Food-contact suitability depends on the substance, food type, temperature, and conditions of use. It should not be inferred from a generic material name or from another product made with a different construction.
Confirm applicable packaging and labeling requirements with qualified regulatory and food-safety advisers for each destination market. Candy frequently includes ingredients associated with allergen controls, so label copy and production controls should come from the responsible food business—not from assumptions made during graphic design. Keep approved copy under version control and ensure the printed panel has enough space at the final physical size.
3. Build an assortment map before setting dimensions
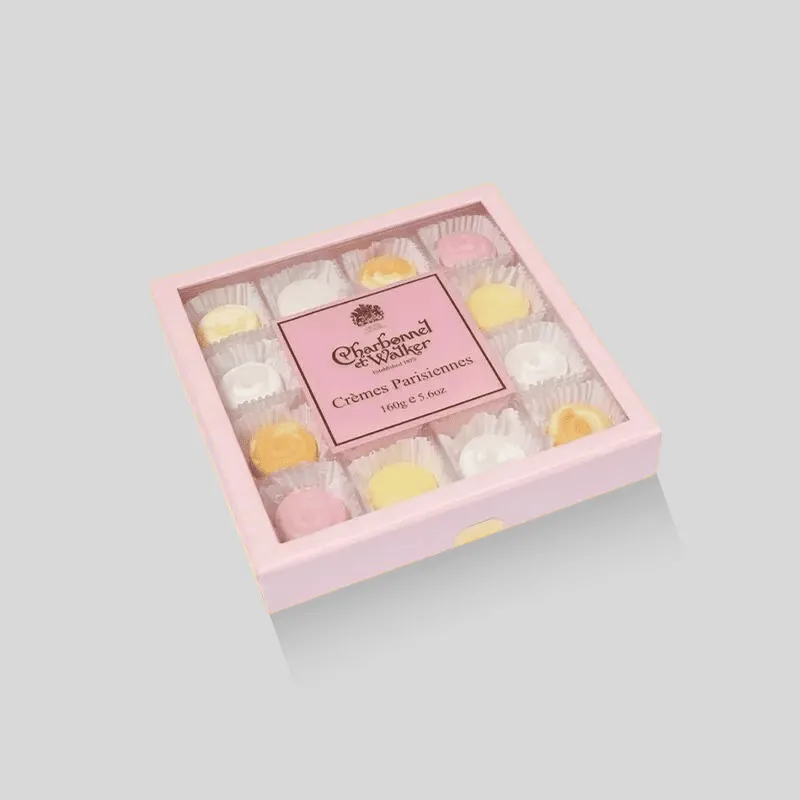
Size the package from a real arrangement. Place the target count on a flat surface in the intended rows, layers, cavities, pouches, or compartments. Include every wrapper seal, cup, liner, divider wall, finger recess, and closure movement. Then calculate usable internal dimensions rather than relying on the outside dimensions of a sample box.
For a fixed assortment, create a simple map showing each SKU and position. Note the largest and smallest pieces, flavor separation, cavity depth, removal access, and permitted substitution. For loose wrapped candy, decide how much settling is acceptable and whether the customer should see a full pack at opening. For lollipops or long items, include sticks and sealed wrapper ends in the layout.
Avoid two opposite errors. Too little clearance can crush candies, bend sticks, wrinkle wrappers, obstruct filling, or make a tray difficult to remove. Too much clearance can let pieces migrate, collide, invert, or leave the opening presentation looking underfilled. The correct tolerance depends on product variation, packing method, material spring, route, and the desired opening experience.
Brisk's article on how to measure a box for custom packaging explains the standard length, width, and height sequence. Confirm whether supplier dimensions are internal or external and whether an insert, folded panel, window patch, or board thickness reduces the usable space.
Create a size-and-count matrix when several packs share a brand. Compare piece count, arrangement, filled weight, carton dimensions, insert tool, artwork version, annual volume, and shipping case. Standardizing a footprint can simplify operations, but only when it does not compromise fit or create unnecessary material and freight volume.
4. Choose structure around filling and customer use
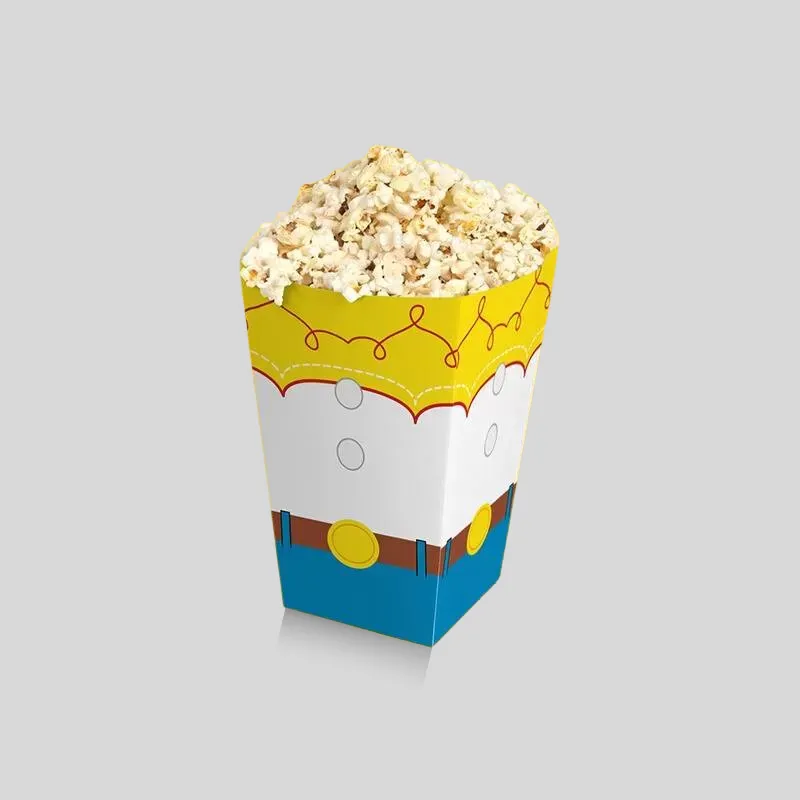
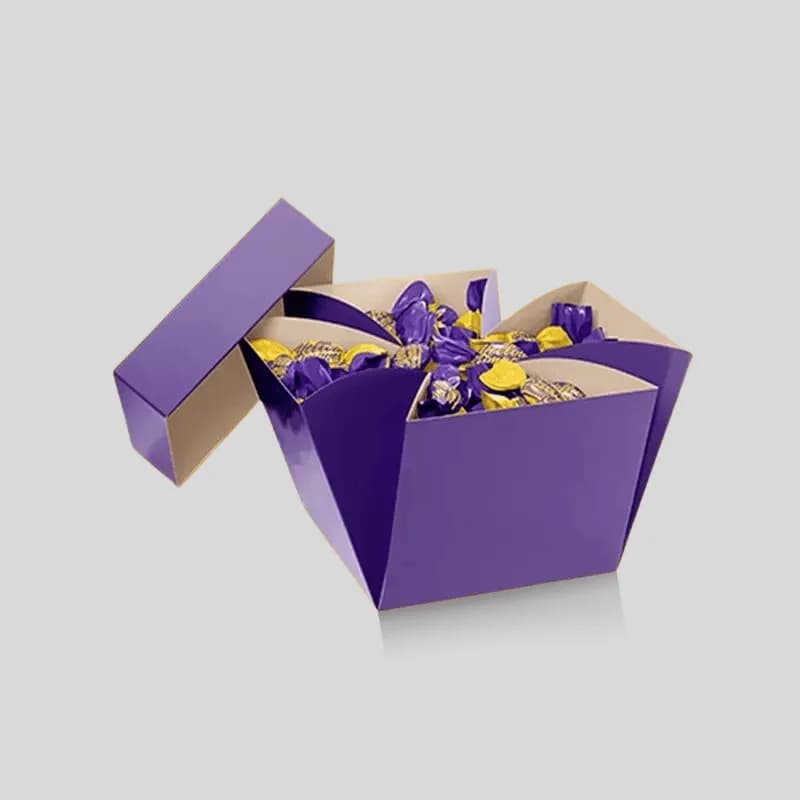
Common candy formats include straight- or reverse-tuck folding cartons, seal-end cartons, sleeves with trays, two-piece gift boxes, drawer boxes, gable formats, display cartons, dispenser cartons, and mailer-style subscription boxes. The right choice depends on filling equipment or hand packing, product containment, opening behavior, shelf orientation, and transit.
A tuck carton can be practical for wrapped units or an inner pouch. Verify that the tuck flap does not snag wrappers and that the bottom remains secure at the filled weight. A sleeve-and-tray system can create a controlled reveal, but the tray should slide consistently after storage and shipment. A two-piece gift box provides broad loading access and presentation, although lid fit and component inventory require attention.
Display and dispenser structures must be tested through the full product count. Tear-open perforations should open cleanly without damaging required information. The remaining tray should stay stable as weight decreases, and the dispensing opening should not allow small pieces to spill or large wrappers to jam.
E-commerce and subscription shipments create a different problem. A retail folding carton may need a separate corrugated shipping container and void management rather than being mailed alone. If one structure is intended to serve as both presentation and transit packaging, test closure security, edges, print scuffing, compression, labels, and opening after the representative route.
Observe packers assembling, filling, and closing samples. A sophisticated structure that causes reversed folds, missed locks, or slow insertion may be a poor operational choice. Mark assembly cues on non-display panels if needed and define whether cartons arrive flat, glued, nested, or preassembled.
5. Decide when inserts, dividers, and windows add value
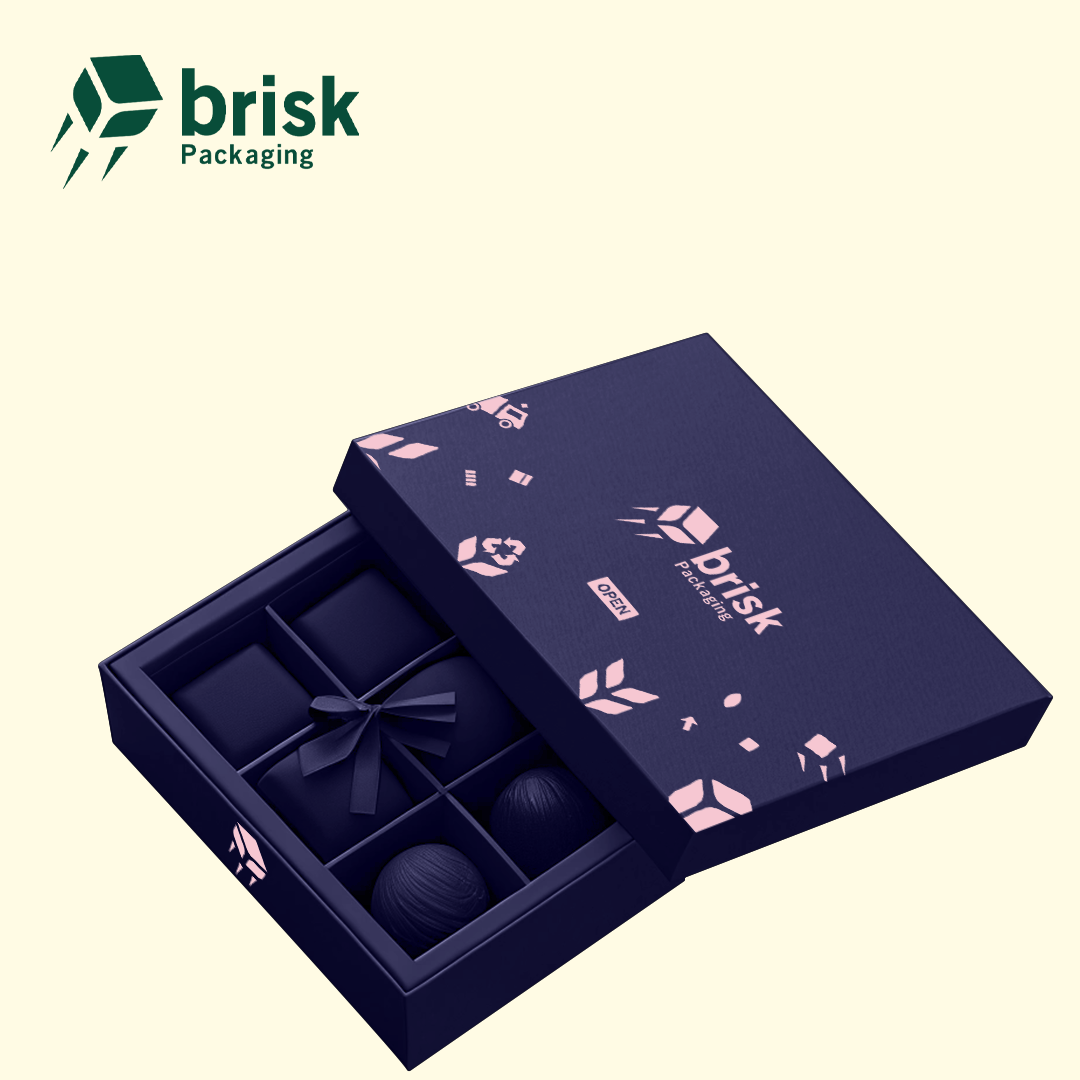
An insert is useful when position matters: premium assortments, fragile pieces, flavor sequences, paired products, or controlled presentation. Paperboard dividers can separate rows or varieties. Molded or die-cut trays can create individual cavities. Cups or liners may provide another layer around sticky or delicate pieces. Select by product needs, packing labor, removability, and the complete material system.
Prototype cavities with real product variation. A cavity that fits the average piece may squeeze the largest one or release the smallest one during shipping. Include finger access so customers can remove candy without damaging neighboring pieces. Check whether an insert bows, lifts with the lid, hides product, or traps crumbs and sugar dust.
A window can show color, assortment, and fill level. It can also remove supporting board from a panel and add a film, adhesive, and patch edge to the construction. Position it from the packed product and mandatory label zones, not from an empty graphic template. Test scratching, fogging, product contact, patch adhesion, panel stiffness, and visibility under retail lighting.
If product visibility is not reliable, a printed product image or smaller viewing area may communicate better. Do not let a window interfere with stacking, a closure, tamper evidence, or critical information. Ask how its material affects the package's recovery or disposal pathway in the markets you serve; avoid broad environmental claims without evidence for the full assembled pack.
6. Select materials for the actual product and route
The Brisk product API currently lists SBS paperboard, Bux board, kraft paper, and corrugated cardboard for Custom Candy Packaging Wholesale. Its records describe SBS and Bux board as food-safe options, kraft as food-safe, and the listed corrugated option as not food-safe. Treat these as starting points for supplier discussion and request documentation for the exact material, coating, adhesive, ink, and conditions of use in your project.
SBS paperboard provides a white print surface suited to detailed retail graphics and folding cartons. Review caliper, stiffness, fold quality, surface treatment, and resistance to the product's handling environment. Bux board is listed as a heavier white-board option for confectionery and food retail packs; confirm its exact grade and how it will be converted.
Kraft can support a natural visual direction, but brown stock changes the appearance of inks, photographs, and unprinted areas. Request a proof on the chosen stock. Do not treat brown color as proof of recycled content, recyclability, compostability, or food-contact suitability; verify the complete specification and local end-of-life conditions.
Corrugated board can provide transit strength for shipping cases, mailers, or larger subscription sets. Because Brisk's listed corrugated material is not marked food-safe, define a suitable inner wrapper, pouch, tray, carton, or liner where necessary. Transit strength and direct-contact suitability are separate decisions.
Candy properties matter. Oils can mark paper surfaces, sugar dust can migrate through gaps, sticky pieces can adhere to liners, brittle products can fracture, and odors or flavors can transfer between varieties. Temperature changes may alter chocolate coatings, caramel texture, gummy tack, adhesives, or films. Run storage and route tests rather than relying on a board name alone.
7. Plan printing, finishes, and label space together
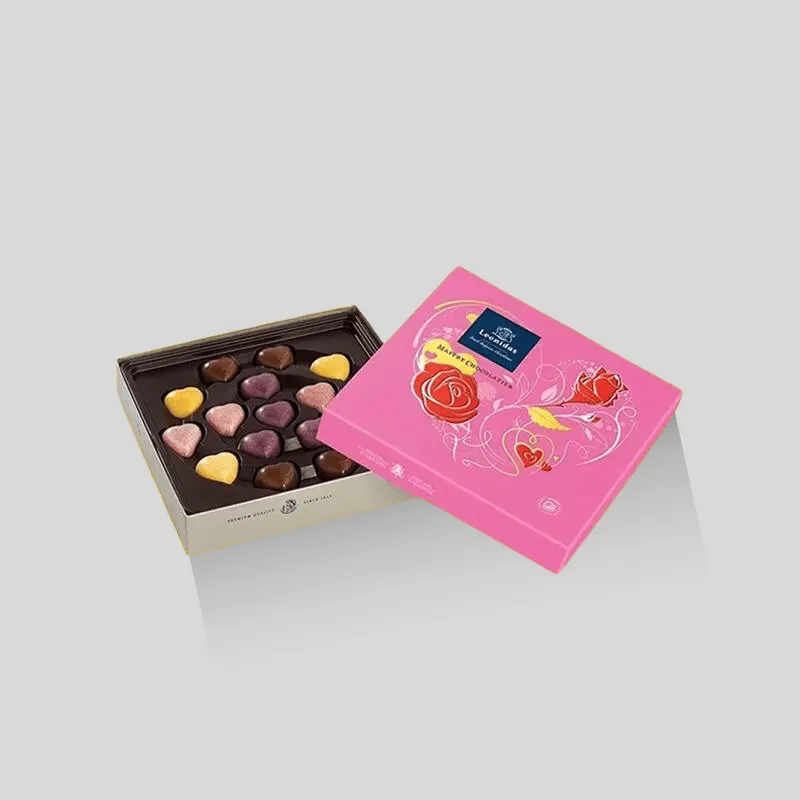
Start artwork only after structure, dimensions, panel orientation, window, and closure are approved. Use the production dieline and keep logos, small text, barcodes, QR codes, ingredient and allergen information, and opening instructions away from cuts, folds, glue zones, perforations, and window edges. Brisk's packaging artwork preparation guide provides a prepress checklist.
Build a content map for each panel. The main facing can establish brand and product identity. Side and back panels can carry approved net quantity, ingredients, allergen declarations, nutrition or other required information, manufacturer or distributor details, lot/date areas, barcode, storage directions, and disposal guidance as applicable. Requirements vary by product and market, so have responsible specialists approve final copy and placement.
The Brisk record lists CMYK and Pantone printing as well as matte and gloss lamination, food-oriented coating, and grease-resistance options. Select finishes for a defined purpose such as scuff resistance, handling, contrast, or premium emphasis. A finish can change color, fold behavior, glue performance, writing or coding, and the material combination, so test it on the chosen board.
Control seasonal and assortment versions with a release table: SKU, product count, box size, artwork file, barcode, ingredient/allergen version, market, quantity, and approver. A beautiful design is still incorrect if the wrong assortment copy reaches the production line.
8. Test filling, display, gifting, and shipping
A digital rendering checks appearance, not performance. Order a production-representative sample and test the complete system with actual candy, wrappers, labels, inserts, tape or seals, outer case, and shipping method.
Use a documented trial:
Assemble the carton using normal staff and record unclear folds or locks.
Load the intended count at realistic production speed.
Check wrapper snagging, product compression, cavity fit, divider stability, and finger access.
Close the pack and apply labels, codes, or tamper features in their planned locations.
Store it through the expected temperature and humidity sequence.
Place retail packs in the shipping case and verify orientation and unused space.
Simulate warehouse handling, parcel movement, vibration, compression, drops, and handoff with an appropriate test plan.
Display the package upright or flat as intended and remove units from dispenser formats.
Open it as a customer would and inspect the first view.
Record migration, breakage, sticking, flavor or odor transfer, sugar/oil marks, window damage, scuffing, closure failure, crushed corners, and label readability.
Use evidence to revise one variable at a time. If pieces migrate, review the layout, cavity tolerance, divider, void space, and route. If the carton bulges, check count, wrapper volume, internal dimensions, board stiffness, and closure. If artwork scuffs, test surface treatment, case packing, and abrasion points. Avoid calling a package universally shipping-safe; performance depends on the tested construction and distribution conditions.
9. Understand quote and cost factors
Custom candy-box pricing depends on the complete specification:
Internal dimensions, finished weight, and product count;
Candy formats, wrappers, assortment map, and tolerances;
Carton structure, closure, opening, and assembly method;
Board type, grade, caliper, color, and coating;
Inner bag, liner, cups, cavities, insert, or dividers;
Window shape, film, patching, and panel position;
Print method, colors, coverage, and number of artwork versions;
Lamination, varnish, foil, embossing, or other finishes;
Tamper feature, label, coding, barcode, or perforation;
Quantity by size, count, assortment, and artwork;
Proofs, prototypes, product testing, cases, destination, and schedule.
Compare proposals against the same written specification. Ask what is included for structural design, tooling, dielines, proofs, printed samples, inserts, freight, and outer cases. Brisk's current candy product record shows conflicting minimum-order figures in separate fields, so confirm current MOQ, lead time, and commercial terms in the project quote rather than relying on a cached figure.
For project-specific guidance, request a Brisk quote or contact a packaging specialist. Send product and wrapper dimensions, photos, count and assortment map, filled weight, food-contact boundaries, label requirements, sales channel, storage and transit conditions, materials, finishes, quantity by artwork, destination, and schedule. Request a dieline, material-specific proof, physical sample, and packed-product test before final approval.
Candy box quote checklist
Candy type, shape, maximum dimensions, weight, and photos;
Wrapped or unwrapped state and primary packaging details;
Piece count, assortment map, rows, layers, and substitutions;
Oil, sugar, powder, stickiness, brittleness, odor, and moisture concerns;
Required internal dimensions and acceptable movement;
Carton, tray, sleeve, lid, display, dispenser, or mailer structure;
Insert, divider, cup, liner, window, and removal-access needs;
Food-contact boundaries and documentation questions;
Approved label content, panel area, codes, and artwork versions;
Printing, stock, finish, tamper, and reclosure requirements;
Packing workflow, retail orientation, case pack, and shipping route;
Quantity by SKU, samples, testing, destination, and timeline.
FAQ
What material is best for custom candy boxes?
There is no universal best material. Choose from the candy's wrapper and contact boundaries, weight, structure, print needs, oil or sugar exposure, retail environment, and shipping route. Request documentation for the exact board, coating, ink, adhesive, film, insert, and conditions of use, then test the assembled package with the real product.
Do candy boxes need inserts or dividers?
Use them when product position, separation, protection, or presentation matters. Fixed gift assortments often benefit from cavities or dividers, while individually wrapped loose candy may use a simpler carton or inner pouch. Test largest and smallest pieces, removal access, packing labor, and movement during shipping.
Can custom candy boxes have windows?
Yes, when a window provides useful visibility and does not compromise panel strength, closure, label area, or product protection. Test patch adhesion, scratches, fogging, product contact, retail lighting, stacking, and route conditions. Verify the film and adhesive as part of the complete material system.
Should loose candy go directly into a paperboard box?
Do not assume so. Define the intended food-contact package and ask for suitability documentation for every component under the actual food type, temperature, and contact conditions. Many systems use an approved inner bag, pouch, cup, liner, tray, or wrapper with the printed carton serving as secondary packaging.
How do I size a box for a mixed candy assortment?
Arrange production-representative pieces in the intended rows, layers, cavities, or compartments. Include wrappers, seals, cups, dividers, finger access, product variation, and closure movement. Convert the tested arrangement into internal dimensions and verify it with a physical sample.
What should I provide for a custom candy-box quote?
Provide product and wrapper dimensions, photos, count and assortment map, filled weight, contact boundaries, structure and insert preferences, window and label needs, artwork versions, storage and shipping conditions, quantities, destination, and timing. Ask for dieline review, proofing, samples, and packed-product testing.
Final takeaway
The right custom candy box begins with a defined product and packing system, not a decorative template. Map every packaging layer, build a real assortment layout, choose a structure that staff can fill reliably, reserve verified label space, and test contact, display, gifting, and transit conditions. A packed sample will expose movement, sticking, breakage, scuffing, and workflow problems that a screen rendering cannot. Brisk can review your dimensions, structure, materials, insert, dieline, artwork, sample, and project quote before production.