Choose a straight tuck end box when you want the top and bottom closing flaps to tuck toward the same panel, leaving a consistent, polished face for retail presentation. Choose a reverse tuck end box when the top and bottom flaps can tuck toward opposite panels and efficient folding-carton production is the priority. Neither style is universally better. Product weight, packing method, shelf orientation, artwork placement, and opening experience should decide the structure—not appearance alone.
Brisk's custom tuck boxes can be configured with straight tuck, reverse tuck, and tuck-top auto-bottom closures. This comparison explains what changes between the first two styles, when each works, and what to confirm before approving a dieline or quote.
Straight tuck vs reverse tuck boxes at a glance
Both are one-piece folding cartons, normally supplied flat and erected before filling. Their main difference is the direction of the major closing flaps.
| Decision factor | Straight tuck end | Reverse tuck end |
|---|---|---|
| Flap direction | Top and bottom tuck toward the same panel | Top and bottom tuck toward opposite panels |
| Front presentation | Often selected for an uninterrupted display face | Panel interruptions depend on dieline orientation |
| Common fit | Cosmetics, skincare, electronics, premium retail items | Bottles, tubes, small goods, general retail cartons |
| Packing | Convenient access from either end; confirm line orientation | Convenient access from either end; often easy to hand-pack |
| Product weight | Best for light to moderate items unless the base is reinforced | Best for light to moderate items unless the base is reinforced |
| Upgrade path | Add lock tabs, insert, or stronger bottom | Add lock tabs, insert, or stronger bottom |
This is a design guide, not a substitute for a physical sample. Board caliper, carton proportions, grain direction, flap dimensions, and product distribution all change real-world performance.
How a tuck-end carton works
A tuck-end carton is a printed paperboard package with a glued side seam, dust flaps, and major flaps at the top and bottom. The major flap folds over the opening and its tongue tucks inside the carton wall. The dust flaps sit beneath it, helping close the corners and keep the product contained.
The carton arrives flat, which reduces storage space compared with a preassembled rigid box. During packing, the operator squares the carton, closes one end, inserts the product, and closes the other. That simple workflow makes tuck cartons useful for cosmetics, candles, personal care products, small electronics, stationery, supplements, and many other retail items.
The word straight or reverse describes flap orientation, not print quality or board strength. A reverse tuck box can have a premium finish, and a straight tuck box can be economical. Material, thickness, printing, finishing, internal fit, and production quantity drive those qualities separately.
What is a straight tuck end box?
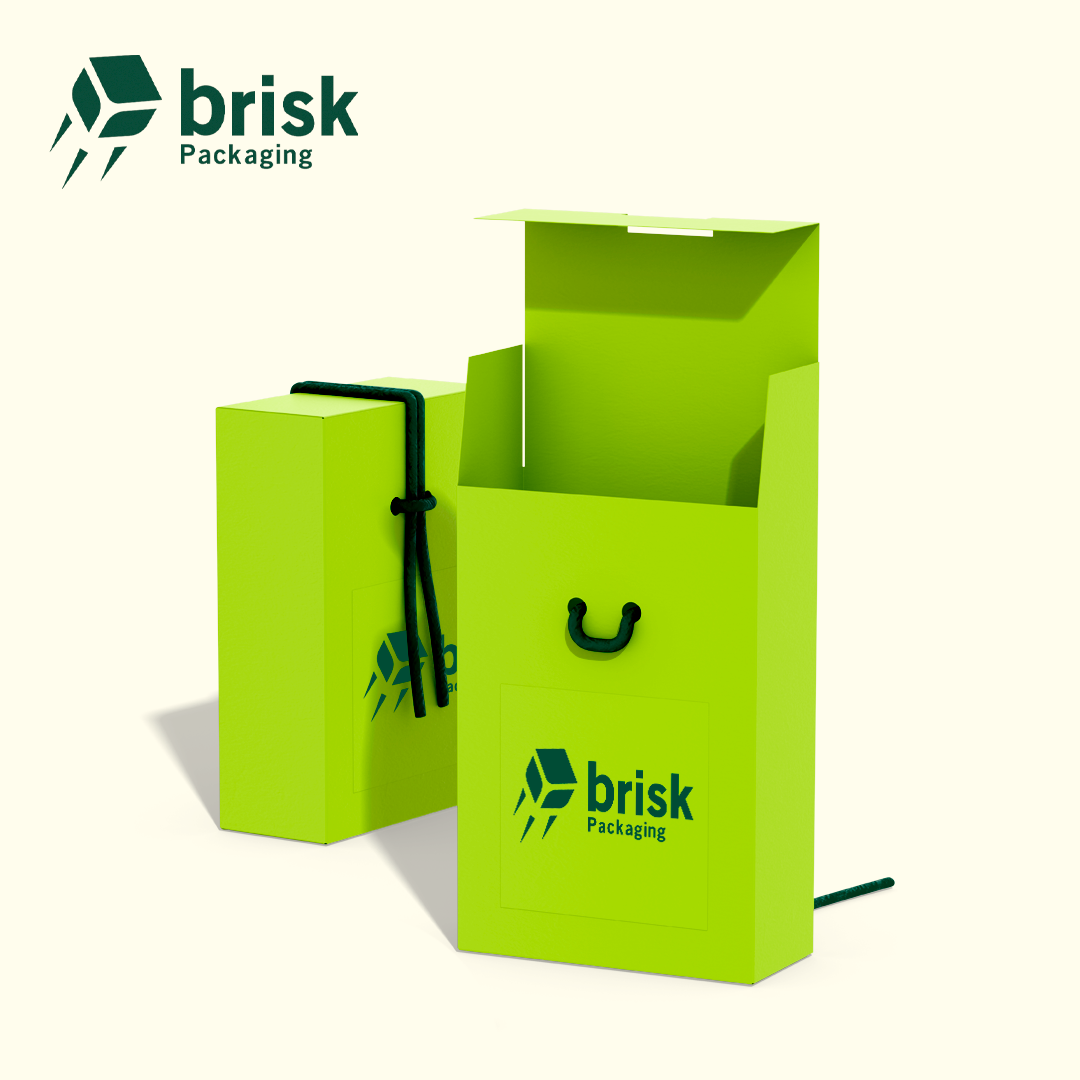
On a straight tuck end carton, the top and bottom major flaps are attached on the same side of the carton and tuck in the same direction. This creates a visually consistent front-and-back arrangement. Brands often prefer it when one broad panel must stay especially clean for a logo, hero graphic, product name, or window.
Advantages of straight tuck boxes
- Clean display presentation: The structure can keep the primary face visually continuous, which helps when packaging is front-facing on a shelf.
- Consistent opening direction: Both ends follow the same orientation, which can make the package feel deliberate when users reopen it.
- Useful for clear windows: A clean main panel can make window positioning and surrounding artwork easier to plan.
- Good for premium small goods: Cosmetics, skincare, fragrance, compact electronics, and giftable accessories often benefit from the orderly panel layout.
- Broad printable area: Front, back, sides, top, and bottom can all carry brand or product information when the dieline is planned correctly.
Trade-offs to consider
The structural blank may use the printing sheet differently than a reverse tuck layout. That does not mean straight tuck is always more expensive; final cost depends on dimensions, board, run quantity, nesting, printing, finishes, and packing. Ask the packaging specialist to compare both dielines rather than assuming a price difference.
A standard tuck bottom also has limits. If a glass bottle, dense jar, or heavy component concentrates force on the base, a straight tuck carton may need an insert, lock-bottom design, auto-bottom, or heavier board. The same caution applies to reverse tuck cartons.
What is a reverse tuck end box?
On a reverse tuck end carton, the top and bottom major flaps are attached to opposite panels and tuck in opposite directions. The carton still opens at both ends, but its closure geometry is reversed from top to bottom.
Advantages of reverse tuck boxes
- Efficient general-purpose format: The opposing flap layout is widely used for compact retail folding cartons.
- Simple hand packing: Operators can square the carton, close one end, load the product, and close the second end without adhesives at the final packing stage.
- Versatile product fit: Tubes, small bottles, blister packs, soaps, accessories, and lightweight retail goods can all suit the structure.
- Full branding capability: Reverse orientation does not prevent full-color printing, branded side panels, coatings, foil, embossing, or window cut-outs.
- Potential layout efficiency: Depending on dimensions and production equipment, its blank can nest efficiently on a sheet. The supplier should confirm whether that creates a meaningful project saving.
Trade-offs to consider
Because closures relate to opposite panels, artwork orientation needs careful review. Do not decide which panel is the front until the flat dieline is labeled and a folded proof is checked. A graphic that appears correctly oriented on-screen may land beside a seam, flap edge, or opening once the carton is assembled.
Reverse tuck is not automatically stronger than straight tuck. The bottom still relies on tuck and dust flaps unless a locking or glued base is specified. Product weight and handling conditions must be tested with the actual dimensions and board.
Which structure fits your product?
Start with the product rather than the carton style. Measure the item at its widest, deepest, and tallest points, including caps, pumps, cords, and protective bags. Then consider these five questions.
1. Which panel must face the shopper?
If a broad, uninterrupted hero panel is the priority, straight tuck is often the first structure to test. It can give designers a predictable face for hierarchy: brand, product name, variant, benefit, and required details. Reverse tuck can still present well, but panel and seam placement deserve closer review.
2. How will the carton be packed?
Hand-packed runs need an intuitive closing sequence and enough clearance to insert the product without crushing flaps. Automated or semi-automated lines need the flap direction, glue seam, and loading direction matched to the equipment. Share a video or diagram of the packing process with the supplier if line compatibility matters.
3. How heavy or fragile is the item?
A light tube and a dense glass jar place different demands on identical-looking cartons. For fragile products, the outer carton is only one part of protection. A paperboard insert, corrugated fitment, molded pulp insert, or foam component may be needed to limit motion. For heavy items, test an auto-bottom or lock-bottom alternative rather than relying on a basic tuck base.
4. Will customers reopen the box?
Skincare, supplements, stationery, and accessories may be removed and returned repeatedly. The flap tongue should open without tearing the main panel and close without excessive force. A thumb notch can help, but its location should not weaken a critical printed or structural area.
5. Is the carton the shipping container?
Most paperboard tuck boxes are retail or primary presentation packs, not standalone parcel shippers. If the product will travel through a courier network, place the tuck carton in a suitable mailer or shipping box with required cushioning. Brisk's rigid boxes vs folding cartons guide explains when a more substantial presentation structure may be appropriate.
When neither straight nor reverse tuck is enough
A comparison should include the option to reject both standard bases.
Tuck-top auto-bottom boxes arrive with a pre-glued base that locks into place as the carton is opened. They can speed assembly and support products that need more confidence at the bottom. They use more complex converting and usually cost more than a basic tuck end.
Snap-lock or 1-2-3 bottoms use interlocking base flaps assembled in sequence. They can suit heavier products and do not rely on a simple single tuck flap, although they take longer to assemble by hand than an auto-bottom.
Sleeve-and-tray boxes create a sliding reveal and are a separate two-component structure. The same day's 04:00 article covers that decision in depth; it should not be confused with flap orientation on a one-piece tuck carton.
Rigid boxes use thicker wrapped board and arrive formed. They suit keepsake presentation but require more storage and budget. Mailer boxes use fluted material and are better suited to many direct-to-consumer shipping applications.
Materials and board choices
Brisk's product data lists SBS paperboard, kraft paper, coated art card, and corrugated cardboard among the available material families. Final availability and thickness should be confirmed against your structure and dimensions.
- SBS paperboard provides a bright, smooth print surface for crisp graphics and retail presentation. It is a common starting point for cosmetics, health and beauty, and consumer goods.
- Coated art card supports vibrant printed artwork and can be paired with matte or gloss effects. Confirm whether the inside is coated if interior printing matters.
- Kraft paperboard gives a natural brown appearance. White ink, color shift, and substrate texture should be tested because artwork will reproduce differently than on white SBS.
- Corrugated board adds fluting and crush resistance, but it changes the structure from a typical compact folding carton. It may be suitable for larger or heavier tuck-top formats rather than every small retail box.
Do not select thickness from an online range alone. A tall, narrow carton can behave differently from a short, wide carton made from the same stock. Product mass, humidity exposure, scoring, grain direction, window size, and finishing all affect stiffness.
Printing, finishes, and windows
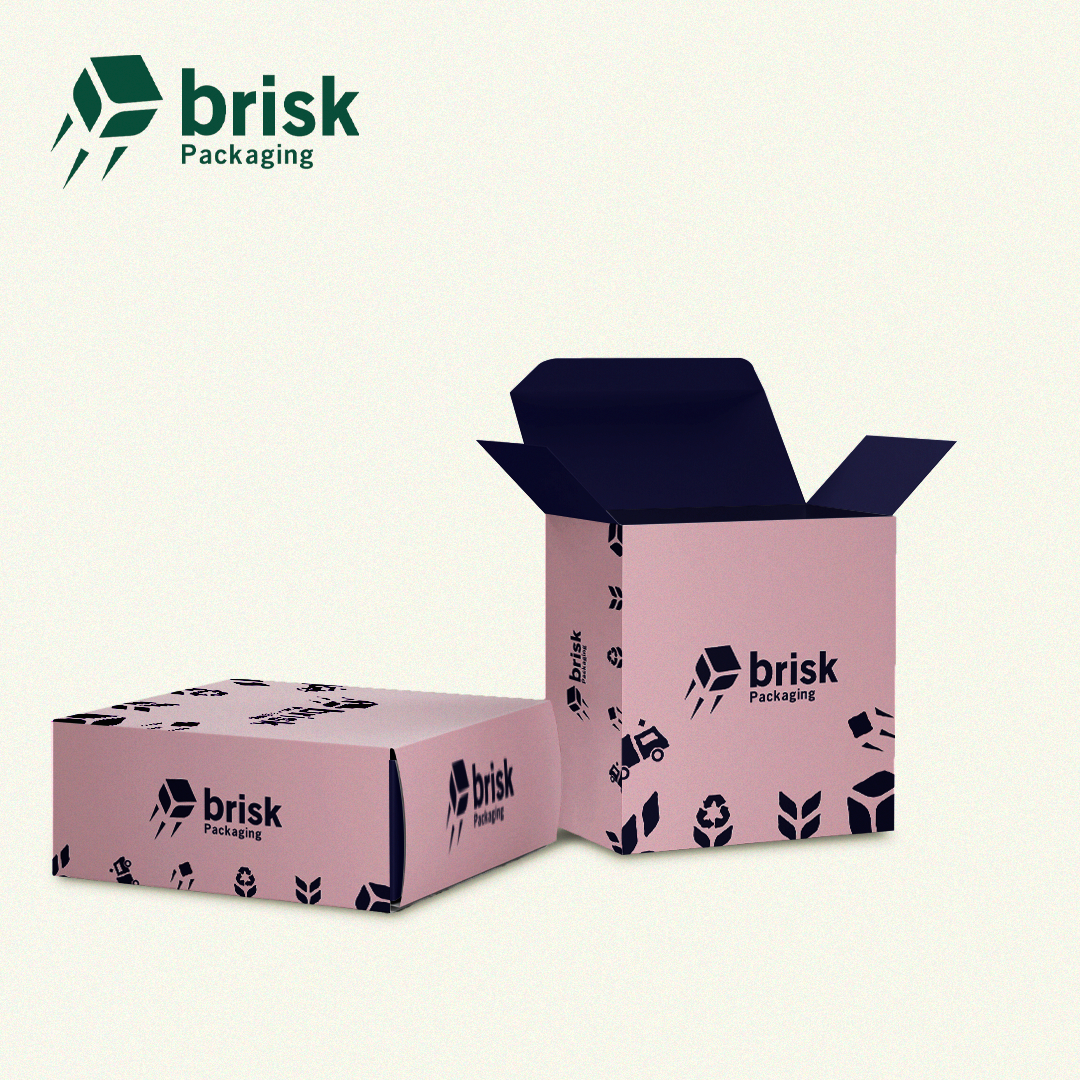
Full-color process printing suits photographic graphics and multi-color branding. Pantone or spot colors can help when a specific brand color needs closer control. Request a proof and define the reference color rather than judging only from an uncalibrated screen.
Lamination adds a film layer that changes feel and surface protection. Matte lamination gives a flatter, restrained appearance, while gloss lamination increases shine and color contrast. Spot UV can create gloss contrast on selected areas. Foil stamping adds metallic accents, and embossing raises a chosen element for tactile emphasis.
Use premium finishes selectively. Applying foil, embossing, and Spot UV everywhere can weaken visual hierarchy and add setup costs. A logo, border, pattern, or key product cue is often a stronger focus.
A die-cut window can show the item inside, but it removes paperboard from a panel. Window shape, corner radius, film patching, product clearance, and panel strength must be reviewed together. If direct product contact, food use, or regulated labeling applies, confirm material and compliance requirements for the actual market with qualified parties; do not assume the outer carton alone satisfies them.
Dieline and artwork checks
Never reuse a dieline from a similar product without confirming final dimensions. The supplier's production dieline should be the artwork template of record.
Before approval, check:
- Panel labels: Identify front, back, left, right, top, bottom, glue flap, and every tuck flap.
- Cut and crease lines: Keep critical text and logos away from cuts, folds, slots, and glue areas according to the supplier's template.
- Bleed and safe area: Extend backgrounds to the required bleed and keep essential content inside the specified safe zone.
- Artwork orientation: Rotate copy correctly on top and bottom panels and verify reverse-tuck panels after making a folded mockup.
- Color setup: Use the printer's requested color mode and named spot colors; define white ink if printing on kraft or another colored substrate.
- Images and fonts: Supply adequate-resolution linked assets and embed or outline fonts as requested.
- Barcode and required copy: Test barcode size, quiet zones, contrast, and placement on the physical pack. Confirm legal and retail requirements independently.
- Finish layers: Put foil, Spot UV, embossing, cut-outs, and white ink on clearly named production layers.
A plain-paper mockup catches orientation errors surprisingly well. A production sample then tests real board, print, finish, closure friction, loading, and product fit.
What affects tuck-box cost?
There is no reliable universal price difference between straight and reverse tuck boxes. Quote both structures using the same product dimensions and specification. Key cost factors include:
- Finished length, width, and depth
- Board type, caliper, and certification requirements
- Order quantity and number of artwork versions
- Printing method and number of process or spot colors
- Interior printing
- Matte or gloss lamination
- Foil, embossing, debossing, or Spot UV
- Window cutting and film patching
- Inserts or reinforced bottoms
- Sampling, proofing, packing, freight, and delivery location
Sheet utilization matters because a small dimensional change can alter how many blanks fit on a press sheet. Ask whether adjusting a noncritical dimension could improve yield without compromising product clearance. Do not reduce the carton until the item rubs, bows a panel, or becomes difficult to pack.
Quote checklist for straight or reverse tuck boxes
Send the packaging specialist complete information so the comparison is meaningful:
- Product dimensions and weight, plus a physical sample if possible
- Required internal carton dimensions
- Product orientation and preferred front panel
- Straight tuck, reverse tuck, or request for both recommendations
- Expected order quantity and number of SKUs
- Hand-packing or machine-packing method
- Material preference and required certifications
- Print colors and interior-printing needs
- Finish, window, insert, or bottom-lock requirements
- Delivery country, deadline, and packing requirements
- Artwork file or request for dieline and design support
Brisk offers custom tuck box design support and samples. Request both structure options if you are undecided, then compare folded appearance, packing time, fit, and landed quote rather than choosing from a flat drawing alone.
FAQ
Are straight tuck boxes stronger than reverse tuck boxes?
Not inherently. Both can use similar paperboard and tuck closures. Strength depends on board, dimensions, scoring, product weight, flap design, and whether an insert or reinforced bottom is used. Test the actual carton with the actual product.
Which tuck box has the cleanest front panel?
Straight tuck end boxes are commonly chosen when a consistent, uninterrupted presentation face is important. However, the final result depends on where the designer and structural engineer place the front panel, glue seam, closures, and any window.
Are reverse tuck boxes cheaper?
They may provide efficient sheet layouts for some dimensions, but a cost advantage should not be assumed. Quantity, blank size, material, printing, finishing, setup, and freight all affect price. Request comparable quotes from the same specification.
Can tuck boxes hold heavy products?
Standard tuck ends are generally better suited to light or moderate products. A dense bottle, jar, or device may need thicker board, an insert, snap-lock bottom, auto-bottom, or another structure. A physical sample and handling test are essential.
Can I add a window to either style?
Yes, a window may be possible on either style. Its position must avoid weakening folds or interfering with the seam and closure. Confirm whether a clear film patch is needed and whether the finished package meets the product's market requirements.
Should I choose matte or gloss lamination?
Choose based on brand appearance, handling, and artwork. Matte creates a subdued surface and gloss creates more shine and color contrast. Ask for finish samples because photos and screens do not accurately communicate texture or reflectivity.
Do I need an insert inside a tuck box?
Use an insert when the product needs alignment, movement control, separation, or extra presentation. Inserts also help when the carton is larger than the item because of accessories or standardized shelf dimensions. The insert and carton should be engineered together.
What should I approve before production?
Approve final dimensions, structure, board, artwork orientation, copy, barcode, colors, finish layers, window, insert, and delivery specification. Review a folded proof or sample—not only a flat PDF—before authorizing the full run.
Choose with a folded sample, not a guess
Straight tuck and reverse tuck boxes solve the same basic job with different flap orientation. Straight tuck is a strong starting point for a controlled hero panel and consistent presentation. Reverse tuck is a versatile general-purpose layout that may suit efficient folding-carton production. Product fit and packing reality should break the tie.
Send Brisk your product dimensions, weight, artwork, quantity, and preferred shelf face. A packaging specialist can recommend the closure, prepare a dieline, and arrange a sample before you request a custom quote. For broader planning, review the custom packaging boxes guide before finalizing materials and finishes.